How to Build Your Own Birdhouse
The best way to attract Tree Swallows is to build a bi rd
house. As previously mentioned in
Nesting, Tree Swallows will not build their own cavities.
They rely on existing cavities. Building a bird house is a
perfect way to attract these birds.
There is just one main thing to remember when building your very
own bird house. Less is More! The simplest, plainest
design painted or stained in more natural colors will be more
attractive to birds than those with bright colors and a bunch of
knick knacks attached. Putting a perch on the bird house
is unnecessary because Tree Swallows will not use it.
Also, the perch will just help squirrels and cats raid the nest.
Refer to
Interactions for more about their predators.

Using a basic birdhouse design, with the help of someone that
knows how to use power tools, you should have 6 pieces: 1 back,
2 sides, 1 bottom, 1 front, and 1 top. These all can be cut using
the same board. Below are the dimensions.
(Dimensions will vary based on width of the wood being used).
These are the dimensions I use when building a bird house.
Good ventilation is essential to prevent heat buildup.
Drilling three holes on the top of the side pieces should be sufficient.
Drainage holes are also needed in case water gets into the box during a storm.
These will be drilled into the bottom piece of the bird house as indicated on
the diagram above.
When building the bird house, the roof sh ould run the water away during a rain
storm. So, the top
should slope down and overlap the front by about 1 ½ inches. So make sure there
is a nice, smooth slope. As indicated by the diagram to the right, the
blue section is what you would sand or cut off of the top and front piece.
The sides of the cut pieces should be well sanded so no loose wood pieces injure
a future inhabitant.
Once all sanded, the pieces are ready to be put together.
14 nails, eight small screws, and two small hinges should be sufficient.
The visual steps are to the side.
Step
(1). Using a flat surface, align the back piece so it is snug to the
bottom piece. The back should be touching the flat surface. Hammer
two nails into the bottom of the back piece so the bottom and back pieces are
together.
Step
(2). Place both side pieces onto the bottom piece making sure the sides
slope downward towards the front. Push the side pieces against the back
piece. Hammer four nails into the back piece, two above the bottom two nails,
and two about 6 inches above those nails. Now the two side pieces should be
connected to the back piece.
Step
(3). Lay the connected pieces on the side and hammer four nails into
the bottom connecting it to the two sides.
Step
(4). Set the connected pieces back up and place the front piece snuggly
against the bottom and the two sides. The front piece should
be sitting onto the flat surface. Hammer two nails onto the bottom of the
front piece at each corner connecting the front and bottom together. Then, hammer two nails toward the top corners of the front piece connecting the
front piece with the side pieces.
Step
(5). Finally, place the top piece against the back piece and lay it on
the top of the side pieces and the front pieces. Screw on two
hinges connecting the back piece and the top piece. Now your bird house is
complete.

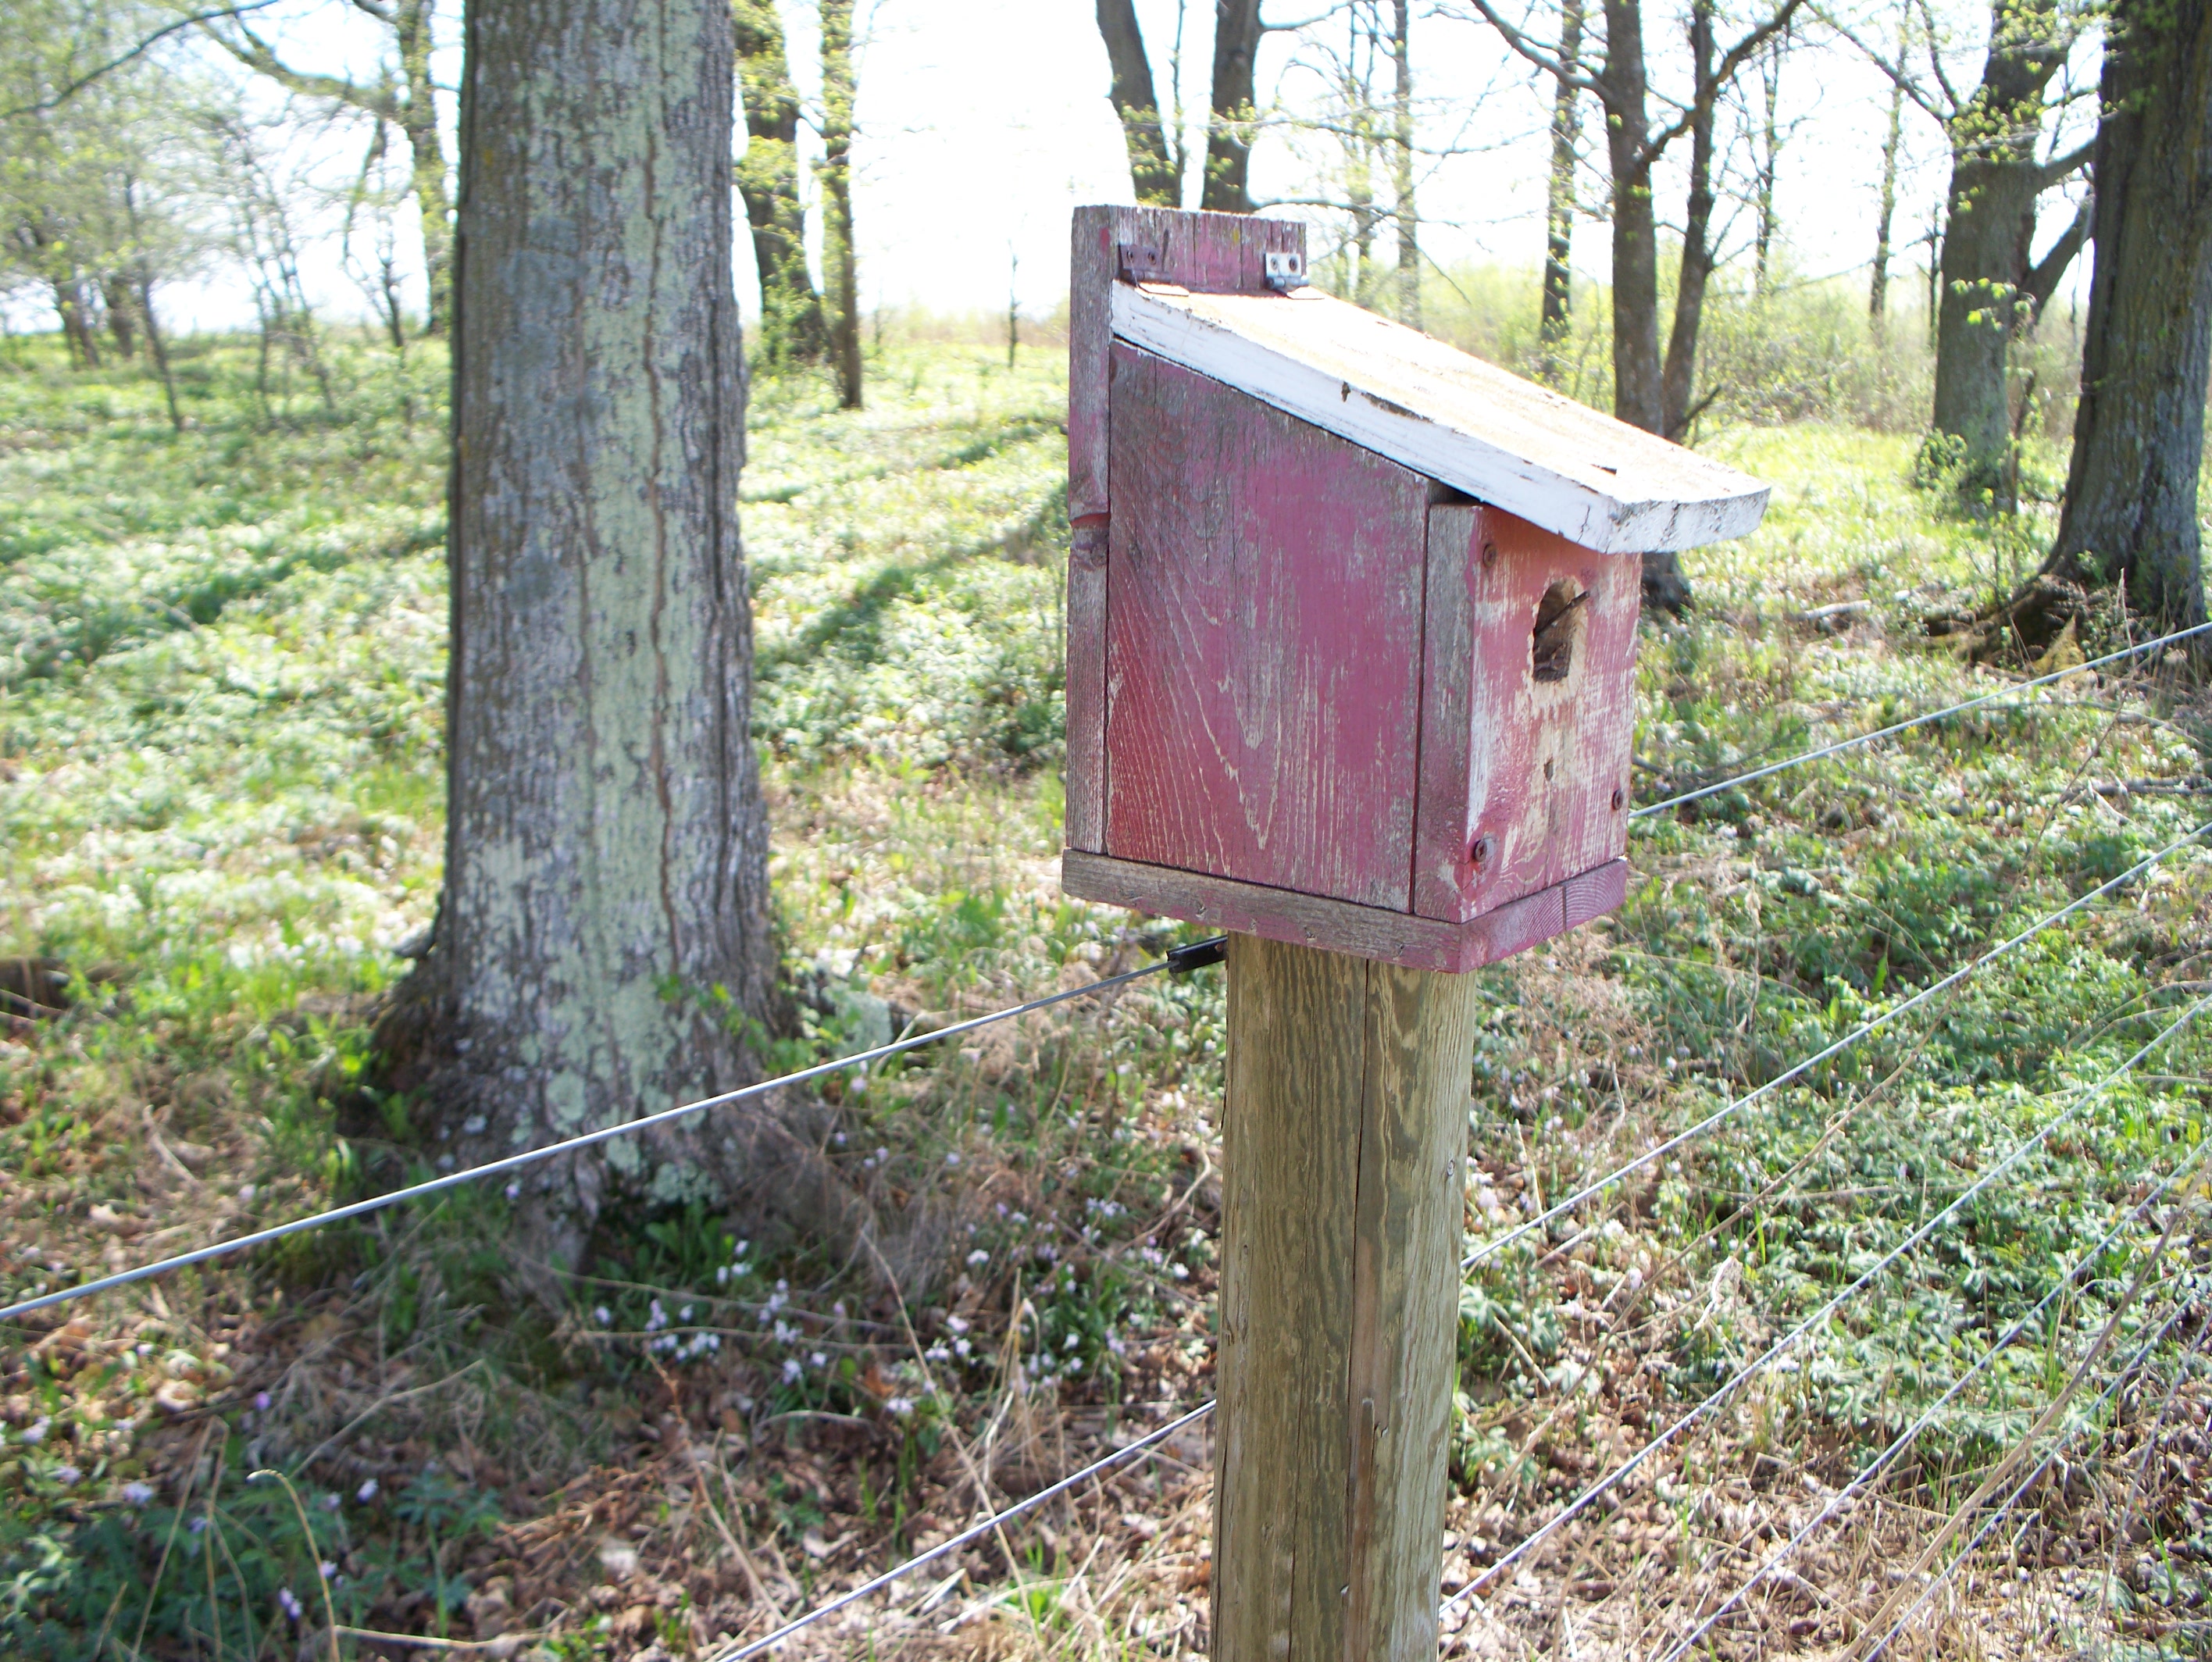
This is what the ending result should look like.
I
placed the dimensions onto the picture for you.
The best places to put your new birdhouse, or birdhouses, are in open, rural
areas near water. Refer to
Habitat. Also, it is best to keep them about 100 feet apart from other bird
houses and away from predatory danger. Keep the birdhouse away from roads
or highly wooded areas.
Hopefully before no time you will have your own Tree Swallows nesting in your
birdhouses. Then, once you make more birdhouses you could be seeing
incredibly large groups of Tree Swallows all fighting for your birdhouses.
To test what you have learned about Tree Swallows click
Test Your Knowledge. Click
here to return return to the Tree Swallow:Tachycineta
bicolor Homepage.

